Practical topic: why concrete pavers from a block machine show color bands, rough faces, chipped edges, or weak corners, and how to trace the problem through face mix moisture, mold filling, vibration, pallet condition, and early curing.
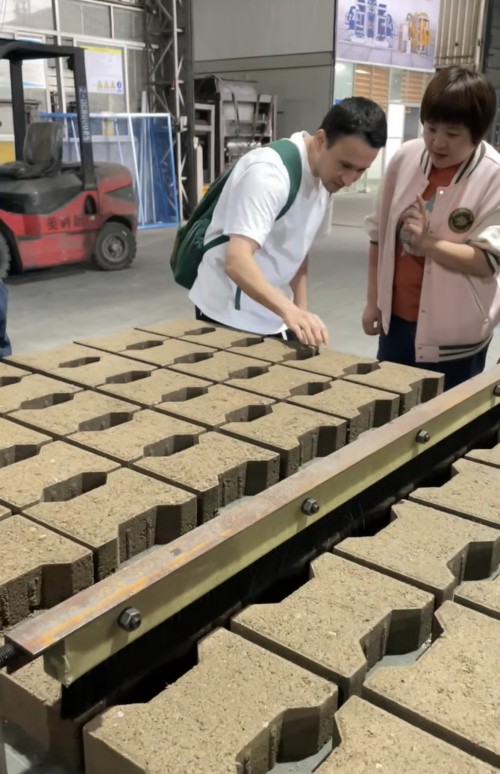
A concrete paver can look acceptable when it leaves the mold and still become a complaint later. The surface may dry with color bands. Corners may chip during pallet transfer. The top face may look sandy instead of dense. A row of pavers may have one side darker than the other. These defects are frustrating because they do not always point to one obvious machine failure. In many factories, the same block machine can produce good hollow blocks in the morning and unstable pavers in the afternoon. The difference is not only the machine. Pavers are more sensitive to face mix quality, mold filling, vibration balance, demolding timing, pallet flatness, and curing humidity.
This article focuses on a narrow but common problem area: surface and edge defects on concrete paving blocks made by an automatic block machine. Instead of saying "adjust the machine" in a general way, it follows the order a plant manager or buyer should use when diagnosing the process. The aim is to help factories separate material problems from mold problems, and separate demolding damage from curing damage. That distinction matters because the wrong repair can waste time. Increasing pressure will not fix poor pigment dispersion. Replacing a mold will not fix uneven curing. Adding water may improve filling but may create sticking and weak green strength.
Why paver defects are usually process signals
Paver defects should be read like process signals. The place, timing, and pattern of the defect often reveal more than the defect name itself. If every paver from the left side of the mold is lighter, the issue may relate to feed distribution, face mix spreading, or vibration balance. If random pavers have chipped corners after transport, the cause may be green strength, pallet movement, or operator handling. If the whole batch becomes pale after curing, curing humidity and surface drying deserve attention.
The first question is when the defect appears. A defect visible immediately after demolding usually belongs to mold filling, material moisture, vibration, pressure, or mold release. A defect that appears after pallet transfer may belong to handling, pallet condition, vibration after forming, or insufficient green strength. A defect that appears after several hours or after curing usually belongs to moisture loss, cement hydration, temperature, shade, curing water, or mix design. This timing record is simple, but it prevents many wrong conclusions.
The second question is whether the defect repeats by mold position. If the same corner breaks on the same cavity, check mold wear, tamper shoe alignment, corner filling, and cleaning. If the same row has a color stripe, check feed drawer movement and face mix distribution. If defects follow a specific pallet, the pallet may be bent, dirty, cracked, or incompatible with vibration energy. A factory that records these patterns can solve problems faster than a factory that only adjusts settings by feeling.
Color bands on face-mix pavers
Color bands on pavers are often blamed on pigment, but pigment is only one possible cause. The visible color depends on pigment dispersion, face mix moisture, cement color, fine aggregate, layer thickness, vibration, and curing. A face mix that enters the mold unevenly can create a darker strip where more pigment-rich fines accumulate. A mix that is slightly too wet may migrate during vibration and create cloudy patches. A mix that is too dry may not close the surface, leaving a dusty and uneven appearance.
Layer thickness is one of the most overlooked details. If the face layer is too thin, the base material may influence the final color. If the face layer thickness changes from one side of the pallet to the other, the pavers may show bands even when the pigment batch is correct. The operator should cut or break sample pavers from different mold positions and compare the face layer thickness. This is not a laboratory test, but it is a useful shop-floor observation.
Another practical check is to compare dry color and wet color. Some surface differences look severe when the paver is wet but become less visible after uniform drying. Other differences become stronger after curing because the surface dried at different speeds. If the color band follows curing position rather than mold position, the curing yard may be the cause. If the band follows mold position from the first minute after demolding, feeding and vibration are more likely.
Rough top surface and open texture
A rough paver surface usually means the fine material did not close properly at the top face. The cause may be dry face mix, poor fine aggregate grading, insufficient cement paste, low vibration response, uneven feeding, or contamination between base mix and face mix. Buyers often describe this as a machine pressure problem, but pressure alone cannot create a smooth face if the face material is not suitable.
Moisture should be checked before changing major machine settings. A face mix that is too dry will not flow into small surface details and chamfers. It may produce tiny holes, open texture, and weak edges. A face mix that is too wet can look smooth at first but later shows sticking, smearing, color clouds, or lower green strength. The correct point is usually a narrow range where the mix compacts under vibration but still releases cleanly.
The aggregate size must also match the surface requirement. Pavers with a fine decorative face need controlled fine material. If coarse particles enter the face layer, the surface may become open and inconsistent. If too many fines are used without enough cement or moisture control, the surface may become powdery after curing. The operator should not only look at the finished paver; they should look at the face mix in the feed box and confirm whether the material looks uniform before forming.
Chipped edges after demolding
Chipped paver edges can come from the mold, the mix, or the handling system. If the corner breaks at the moment of demolding, check mold cleanliness, release clearance, corner filling, and green strength. If the edge is clean at demolding but damaged after transfer, check pallet movement, vibration on the conveyor, stacking method, and operator handling. If the edge becomes weak after curing, check cement content, curing moisture, and surface drying speed.
For interlocking pavers, edge geometry is not decorative only. It affects installation. A small chip on a hidden corner may be acceptable in some markets, but broken interlocking shoulders can reduce laying quality and resale confidence. This is why factories should define acceptable edge standards before production, especially when making pavers for municipal projects or higher-value landscaping work.
Mold wear can create edge problems gradually. A new mold may form sharp and consistent chamfers. After long use, chamfers may become rounded, side walls may polish, and small burrs may appear. The operator may compensate by changing moisture or vibration, but that can create new defects. If edge problems repeat in the same cavity after cleaning and material adjustment, a mold inspection is more useful than continuous setting changes.
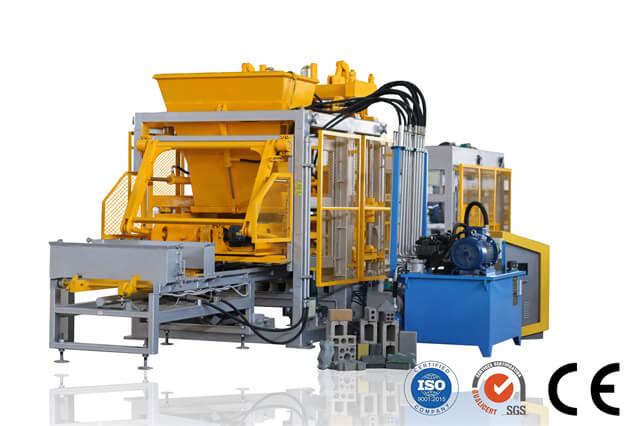
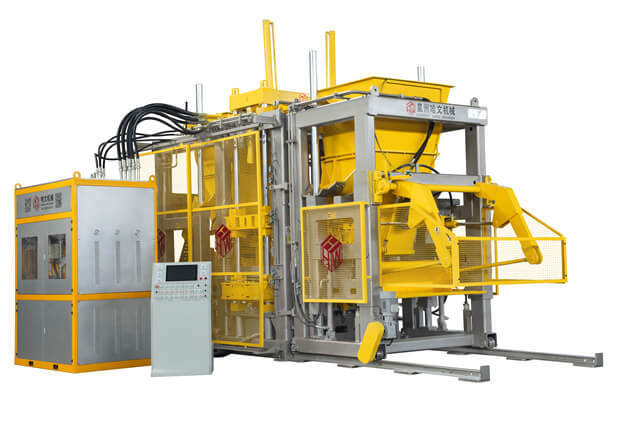
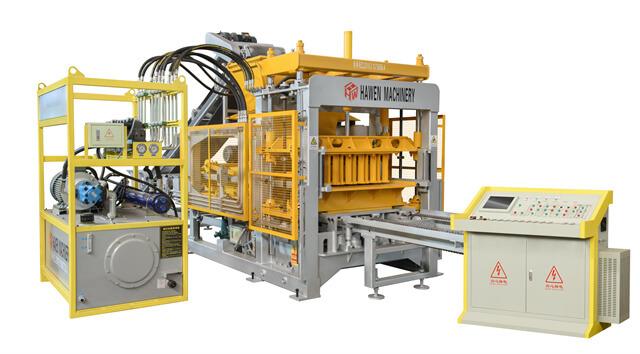
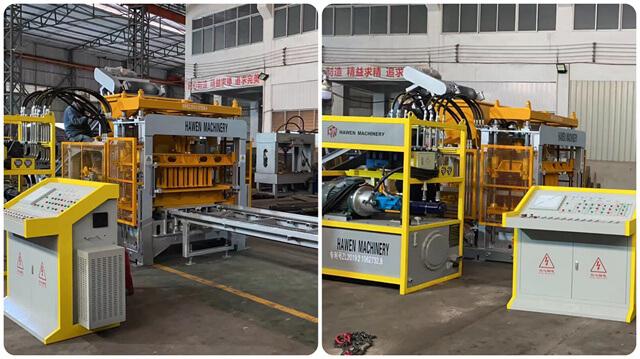
When reviewing a machine purchase, buyers should connect edge quality with mold design and machine stability. For example, a factory considering a QT6-15 cement paver brick production machine should discuss not only hourly output, but also the paver shape, chamfer design, face layer requirement, pallet condition, and the expected curing method.
Pallet vibration and bottom face marks
The pallet is part of the forming system. During vibration, the fresh concrete rests on the pallet, and the pallet transmits energy through the mold. If the pallet is bent, dirty, swollen, cracked, or worn unevenly, the bottom surface of the paver may show marks. Height may also vary from one side to another. These problems can look like mold or pressure problems, but the simplest test is to mark several pallets and follow the products made on them.
If defects follow the pallet, the machine is not the first suspect. The factory should inspect pallet flatness, surface damage, material, thickness, and cleaning habits. Concrete residue on the pallet can create bottom marks and unstable height. A pallet that flexes too much under vibration can change compaction. A pallet that is too smooth or contaminated may influence how the green paver sits after demolding.
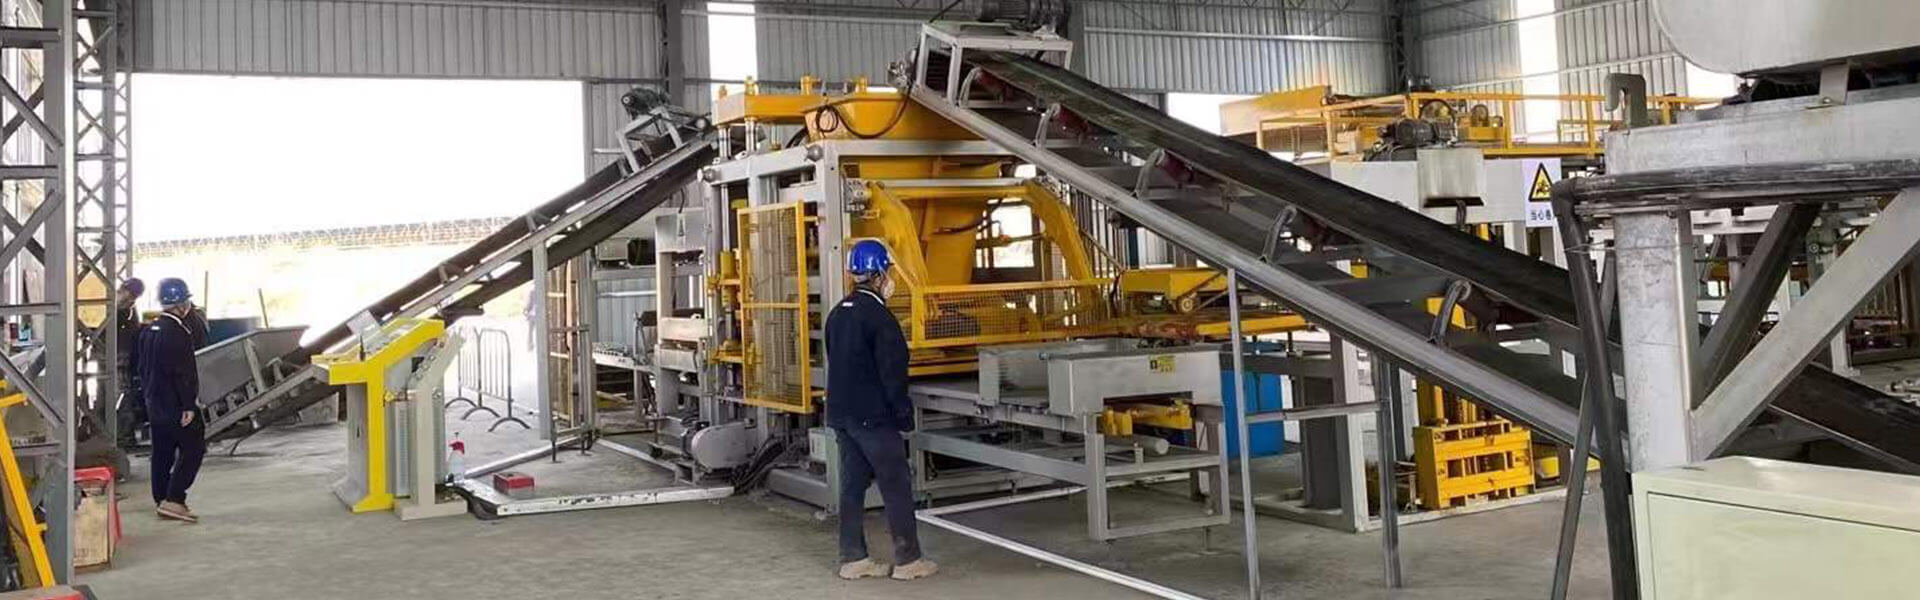
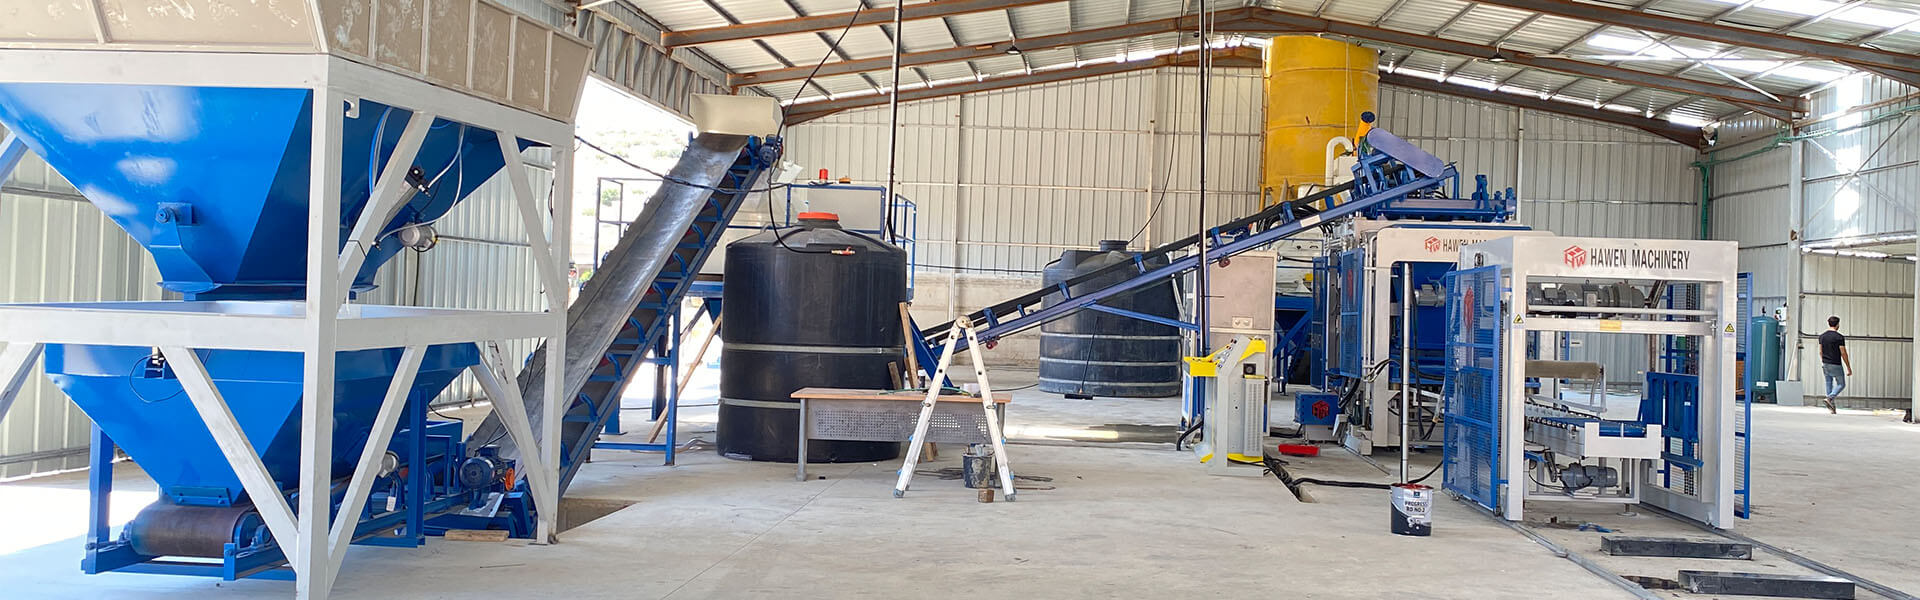
Pallet condition becomes more important when the factory increases output. Faster production means more pallet cycles, more handling, and more chance of damage. A plant may buy a capable machine but lose product quality because it tries to save on pallets. In a real layout review, pallet quantity and quality should be planned together with machine capacity and curing space.

Curing yard checks before changing machine settings
Curing is where many surface complaints become visible. Pavers need moisture control after forming. If the surface dries too quickly, color may become uneven, edges may weaken, and fine cracks may appear. If one part of the curing yard receives more wind or sun, pavers in that location may look different from pavers made in the same batch. This is why quality judgment should not stop at the machine outlet.
A practical curing yard check is to place marked pallets from the same batch in different curing positions and compare them later. If pavers from the same mold position change appearance depending on curing location, the curing environment is influencing quality. If the same defect remains attached to the same mold cavity regardless of curing position, the defect is likely from forming.
Humidity and timing matter. Moving pavers too early can damage edges. Spraying water too aggressively can mark the surface. Allowing the surface to dry before moisture protection can create color difference. Covering products unevenly can also create patchy curing. These details are not glamorous, but they often decide whether the final product looks professional enough for sale.
Defect map for paver production
The table below is a field diagnostic map. It does not replace testing, but it gives operators and buyers a better order of inspection. The key idea is to check timing and pattern before changing settings.
| Visible defect | First place to inspect | Useful shop-floor test |
|---|
| Color band across paver surface | Face mix feeding, pigment dispersion, layer thickness, curing position | Cut samples from different mold positions and compare face layer thickness. |
| Rough top face with open pores | Face mix moisture, fine aggregate grading, vibration response | Compare one small moisture adjustment before changing pressure or cycle speed. |
| Repeated chipped corner in one mold position | Mold cavity edge, tamper shoe, demolding clearance, local filling | Mark the cavity position and inspect whether the same corner fails repeatedly. |
| Bottom marks or height variation | Pallet flatness, pallet cleanliness, vibration transfer | Mark pallets and check whether defects follow the same pallet. |
| Good surface at demolding but uneven color after curing | Curing humidity, wind, sun exposure, water timing | Move marked pallets from the same batch to different curing positions and compare. |
Operator records that make troubleshooting faster
A factory does not need complicated software to improve paver troubleshooting. A simple daily record can make defects easier to solve. Record the product type, mold number, pallet batch, face mix moisture adjustment, pigment batch, cycle time, weather condition, curing position, and the time when defects first appeared. These notes turn vague complaints into patterns.
For example, if color bands appear only after a new pigment batch, the material side deserves attention. If chipped edges appear only on one mold cavity, inspect that cavity. If rough surfaces increase on hot afternoons, moisture loss may be changing the mix behavior. If bottom marks follow a group of older pallets, the pallet stock needs sorting. Without records, each problem feels new. With records, the factory can separate repeated causes from random events.
Buyers can also use this thinking before purchasing. Ask the supplier what production variables must be controlled for the target paver. Ask whether the quoted mold is for single-layer or face-mix paver production. Ask what pallet quality is recommended. Ask how curing should be planned for the expected daily output. A serious supplier should be able to discuss these points without turning every answer into a slogan.

FAQ
Why do pavers from the same machine have different colors?
Color difference may come from pigment dispersion, face mix moisture, layer thickness, cement color, curing humidity, or drying speed. The first step is to check whether the color pattern follows mold position, material batch, or curing position.
Is a rough paver surface always caused by low machine pressure?
No. A rough surface often starts with face mix moisture, fine aggregate grading, or poor filling. Pressure may influence compaction, but it cannot fully correct a face mix that is too dry, too coarse, or unevenly fed.
How can a factory tell whether chipped edges are caused by the mold?
Mark the mold cavity positions and inspect fresh pavers immediately after demolding. If the same corner in the same cavity repeats the defect after cleaning and material checks, mold edge wear, local filling, or demolding clearance should be inspected.
Why should pallet condition be checked when the defect is on the paver?
The pallet supports the product during vibration and transfer. Bent or dirty pallets can create bottom marks, height variation, and handling damage. Marking pallets is a fast way to see whether defects follow specific pallets.
Should curing be checked before changing machine settings?
Yes, especially when the paver looks acceptable at demolding but changes later. Uneven humidity, wind, sun exposure, or incorrect water timing can create color difference, surface weakness, and cracks after the forming stage.
Conclusion
Paver surface defects are rarely solved by one quick adjustment. Color bands, rough faces, chipped edges, and bottom marks each carry information about the process. The useful method is to record when the defect appears, whether it follows a mold position, whether it follows a pallet, and whether it changes after curing. That order helps the factory avoid replacing parts or changing settings before the real cause is visible.
For buyers, the lesson is also clear. A concrete block machine should be evaluated together with the paver mold, face mix system, pallet quality, material condition, and curing plan. Before comparing quotations, define the target paver size, surface requirement, color plan, expected output, and local raw materials. Then ask the supplier to explain how the machine and mold will keep surface quality stable, not only how many pieces can be produced per hour.


 Tel: +86-13905968794
 Email: export@hwmachines.com
 MP/WhatsApp: +86-13905968794
 Manufacturer Address:Nanan,Quanzhou City,Fujian Province,China