How Should Buyers Approve a Custom Paver Mould Before Production?
Author:HAWEN Block MachineFROM:Brick Production Machine ManufacturerTIME:2026-10-08
MENU
Approving a custom paver mould is not merely checking whether a sample looks attractive. The mould must reproduce the specified paving unit, fit the block making machine and production pallet, release compacted concrete reliably, and remain serviceable under planned operating conditions. A product drawing alone may omit practical details such as cavity spacing, face texture, edge definition, cleaning access, and the interface between frame and machine. Treat approval as an engineering checkpoint before irreversible machining begins.
This guide outlines a practical review sequence for new tooling and replacement moulds. It covers the product definition, machine data, sample criteria, dimensions, construction records, trial conditions, and acceptance documents. There is no universal paver specification: the project, local requirements, concrete mix, machine configuration, and intended application determine which details matter. Buyers should identify applicable standards and provide relevant requirements instead of expecting a supplier to infer them from a general product name.
1. Define the paving product before discussing the mould
Start with the finished product, not a standard mould size. Provide a controlled drawing for each paver type, including nominal length, width, height, corner geometry, chamfers, nibs, interlock profile, openings, and recesses. Identify dimensions critical to laying, joint spacing, mechanical interlock, or connection with adjacent units. A plan view and side view may not describe an unusual profile adequately; sections through the face and edges can clarify the intended geometry.
Describe the application and required characteristics. A driveway paver, pedestrian plaza unit, permeable paver, and industrial-yard paver may share a footprint while differing in thickness, edge treatment, face appearance, or required tests. State the applicable local standard or project specification, provide the relevant requirements, and clarify who is responsible for testing and certification. A general product label should never substitute for a dimensioned drawing and written acceptance criteria.
State whether the unit is single-layer or intended for face-mix production. For face-mix products, record face depth, colour or aggregate exposure, the transition between layers, and acceptable variation. For single-layer products, define the surface finish and visual limits. These choices affect cavity details and trial assessment. Agree them before manufacture, not after the mould is complete. If several product variants will use the tooling, identify each variant and the change parts or settings required.
2. Confirm machine and pallet compatibility
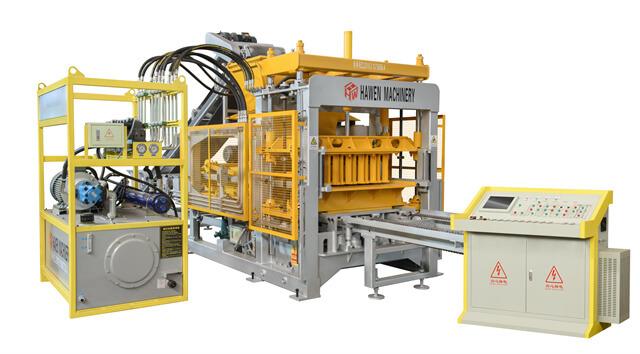
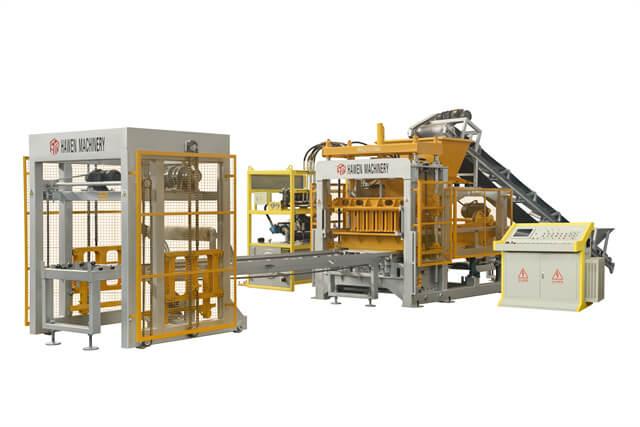
A mould can match the product drawing but still fail to fit the block making machine. Provide the machine manufacturer and model, production pallet dimensions, usable pallet area, mould-frame interface, tamper-head arrangement, and relevant machine-side drawings. Confirm whether the tooling is for a Hawen machine or another manufacturer’s equipment. Compatibility should be checked against the actual installed configuration, not inferred from a brand name or a similar-looking older mould.
Ask engineering teams to verify external dimensions, locating points, lifting or clamping features, clearance to guards and adjacent components, and space available for the tamper head. Assess cavity count and orientation against the pallet and product layout. More cavities may raise output per cycle only if spacing, concrete feeding, compaction, and clearances remain adequate. Do not approve a layout solely because it maximizes the theoretical number of units on a pallet.
Send photographs and measured interface drawings where possible, and list modifications made since machine installation. For a replacement mould, record both nominal dimensions and actual condition of the old frame. Wear, distortion, repairs, or non-standard shims can make it a poor reference. A fit review using a marked-up interface drawing reduces adjustments during installation. Record any assumed dimensions and identify who will verify them before manufacturing starts.
3. Review the mould drawing as a controlled document
Request the final mould assembly drawing and relevant cavity details before production. Check revision, units, product orientation, cavity count, overall dimensions, frame construction, and interface dimensions. Confirm the drawing describes the mould being made rather than a preliminary concept. Record approver, date, and revision. A later change should be issued as a new revision, not communicated only through an informal message or an untracked image.
Review tolerances selectively. Features affecting installation, product fit, interlocking, joint width, or downstream handling may require explicit tolerances. Other dimensions may follow the supplier’s standard manufacturing process. If every dimension is marked critical, inspection becomes slow and difficult to interpret; if none is identified, buyer and supplier may disagree about conformity. Mark critical-to-function dimensions and state the inspection method where measurement could otherwise be ambiguous.
Compare the finished-product drawing with the cavity drawing. The cavity is the inverse working geometry, and draft, radii, chamfers, and release allowance may require engineering treatment to produce the specified concrete unit. Ask the supplier to identify proposed changes to the visible profile. Review such changes against the required product before approval. Buyers need not dictate every machining choice, but should confirm that the resulting unit will match the agreed design.
Approval item
What to verify
Useful record
Product geometry
Critical dimensions, edges, openings, finish
Approved product drawing
Machine interface
Pallet, frame, locating points, clearance
Interface drawing and checklist
Mould construction
Layout, material, treatment, assembly
Approved assembly drawing
Trial outcome
Demoulding, dimensions, surface, repeatability
Trial report and measurements
4. Approve surface texture with a representative sample
Surface texture is difficult to approve through a short verbal description. Terms such as smooth, stone-like, exposed aggregate, or textured can mean different things to different teams. Provide a reference sample, a clear scaled photograph, or a texture drawing. Identify which areas carry the pattern and whether it continues to the edges. For patterned pavers, review the direction and repeat across adjacent units, not only one isolated cavity.
Agree how the sample will be judged. Criteria may include general texture, edge sharpness, visible marks, colour consistency, aggregate exposure, and acceptable variation arising from production. Separate mould-made features from mix-related appearance. The mould defines geometry and surface relief, but cement, aggregate grading, moisture, pigment, compaction, curing, and handling also affect the final face. Record trial conditions and do not attribute every visual difference to the mould.
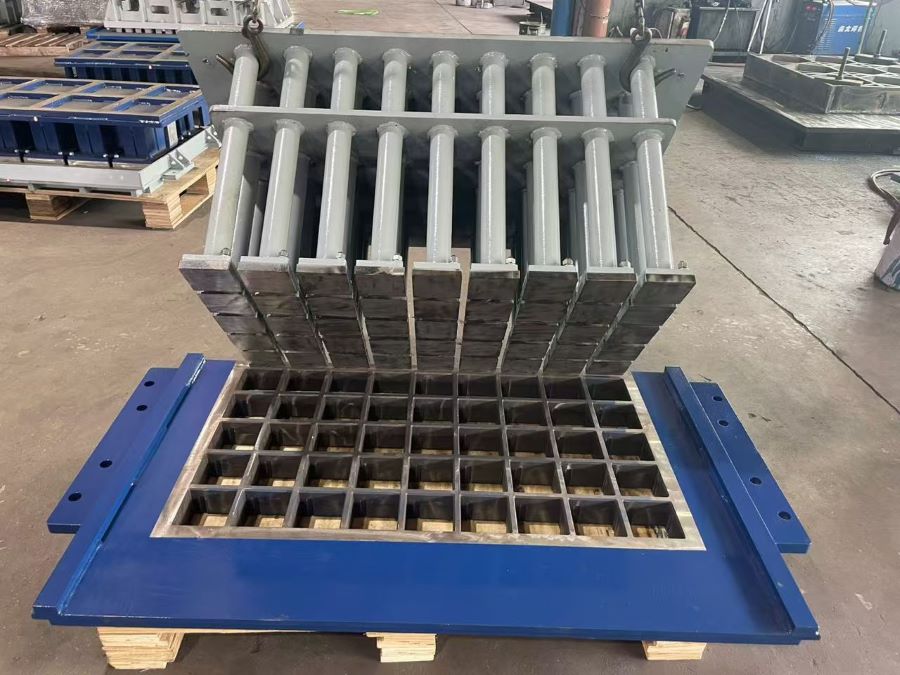
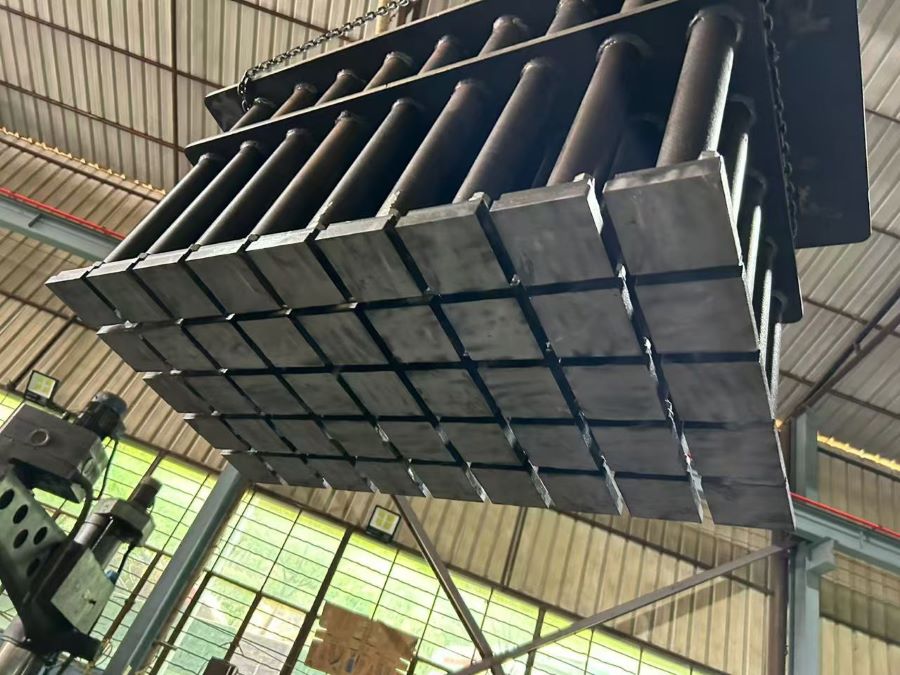
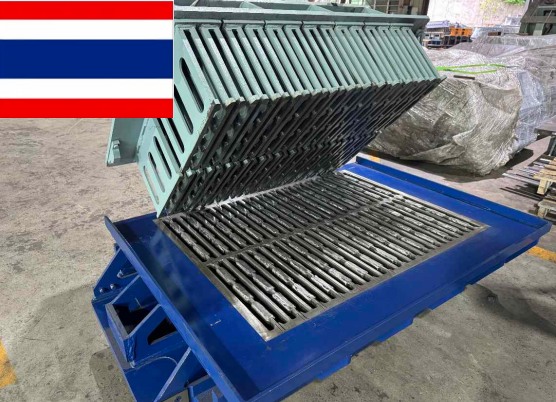
Review the working face and cavity edges against the approved product design.
If colour or face-mix appearance is commercially important, use a separate controlled sample process. A tooling sample confirms shape and texture transfer; it is not automatically a colour master unless the recipe and production process are controlled for that purpose. Retain a physical sample or agreed photographs, label them with the drawing revision, and state who keeps the reference. Decide beforehand how borderline results will be handled.
5. Specify construction and wear treatment clearly
Ask the supplier to state mould material, relevant component thicknesses, and wear-treatment process. Hawen’s mould pages describe options such as 16# manganese steel and NM500, with carburizing, nitriding, or quenching for applicable designs. These general descriptions do not replace confirmation of a specific order. Ask which material and treatment apply, which surfaces receive treatment, and what inspection or material records will be supplied.
Hardness and service-life statements need context. If a quotation gives a hardness range or estimated cycle life, ask how it is measured, which parts it covers, and what operating conditions are assumed. Wear depends on aggregate abrasiveness, mix consistency, cleaning, lubrication, vibration settings, maintenance, and handling. Treat a projected cycle count as an estimate unless commercial terms define a measurement method and applicable conditions.
Review construction details affecting maintenance and repair: replaceable wear parts, cleaning access, weld inspection, and whether components can be repaired or exchanged. The acceptance drawing should make the general construction understandable. For tooling supplied to another manufacturer’s machine, confirm interface verification, installation, and commissioning responsibilities in writing. Hawen’s customized interlocking paver moulds provide a product reference for discussing surface finish, pallet compatibility, and configuration.
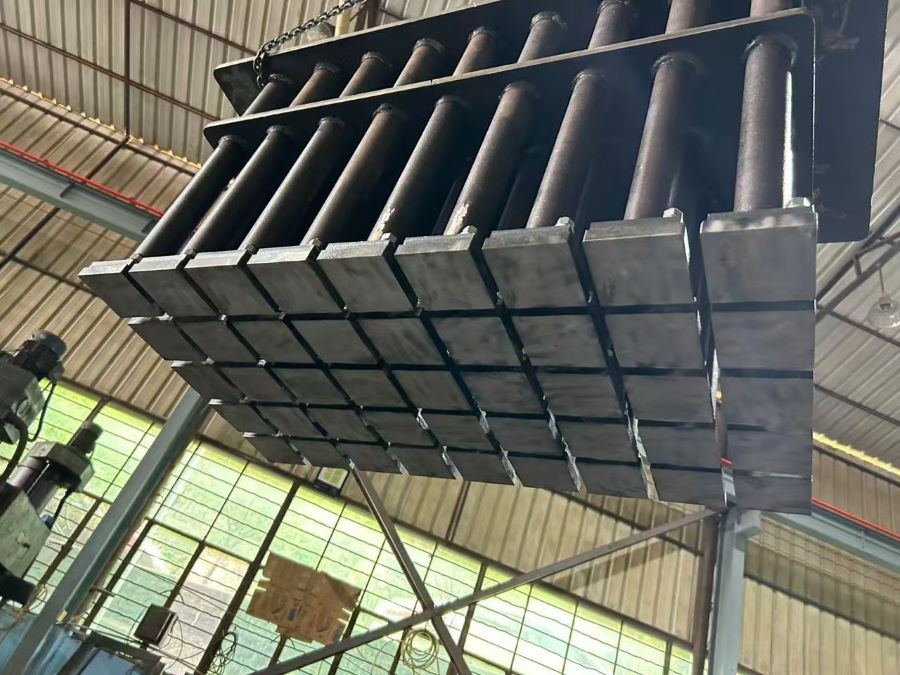
Manufacturing records help connect the approved design with the delivered mould.
6. Set a trial plan that reflects production
A useful trial checks more than whether one unit demoulds. Agree the machine, production pallet, concrete mix, face-mix arrangement, vibration and compaction settings, and number of cycles. Record product dimensions and measurement methods. Define how many acceptable units are required before the mould is ready for shipment or routine production. The trial should resemble intended operation while documenting any differences.
Observe concrete filling and distribution, compaction, demoulding, edge integrity, surface transfer, and consistency among cavities. A cavity that performs well alone may behave differently when all cavities operate together. Inspect products from different mould positions and more than one cycle. If units are automatically transferred or stacked downstream, include a relevant handling check where practical and define responsibilities for downstream equipment.
Record defects objectively with photographs, cavity numbers, measured values, mix data, and machine settings. Instead of writing only “surface not good,” describe location, appearance, frequency, and whether the issue repeats. This helps distinguish tooling concerns from mix or machine-setting issues. When a change is made, repeat the relevant trial and identify the new drawing or mould revision. Keep rejected and approved samples identifiable.
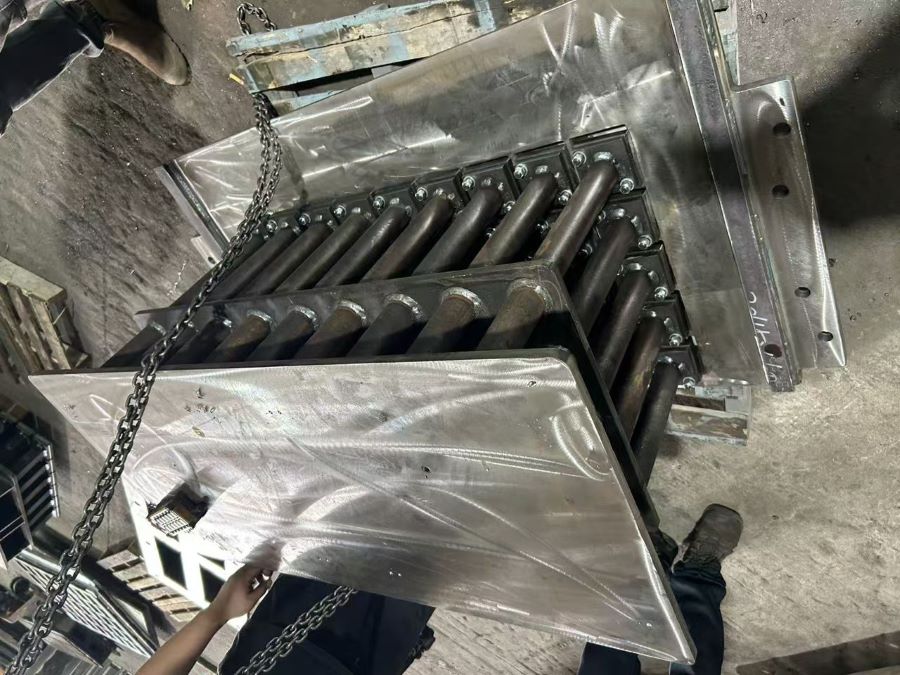
Machining and inspection should follow the approved mould design and revision.
7. Make acceptance measurable and traceable
Use a checklist agreed before manufacture. It may cover mould dimensions, interface features, material and treatment records, trial results, and confirmation that delivery matches the approved revision. Specify who performs each inspection, what evidence is shared, and whether the buyer witnesses the trial remotely or in person. State how deviations are recorded and who can approve them.
For finished pavers, define a sampling method: number of units, cavities and cycles sampled, measurement timing, and whether readings are taken immediately after demoulding or after a specified curing period. Interpret measurements against product requirements and the agreed method. If strength, abrasion, slip resistance, permeability, or another property matters, identify the test procedure and laboratory separately from mould inspection. Tooling acceptance alone does not establish every product-performance property.
Keep the customer drawing, mould drawing and revisions, approvals, sample reference, material and treatment documentation, trial settings, inspection readings, photographs, and open-item list together. This package helps during installation, repeat orders, and future product changes. It also distinguishes an approved design from an unapproved request made after machining began. Assign an owner for the records and provide the final documents with the mould.
Document the mould and inspection points before acceptance.
8. Manage common approval risks
The first risk is approving a render as if it were a manufacturing drawing. A render communicates appearance but often omits tolerances, machine interfaces, cavity spacing, and revision control. Require a dimensioned drawing. The second risk is incomplete machine information. A mould cannot be checked from a model name alone when pallet size, interface, or installed configuration varies. Provide these details early and list remaining assumptions for verification.
A third risk is changing product geometry after machining begins. A small change to chamfer, nib, or face depth can affect cavity work. Use a written change request identifying the affected revision, cost, lead-time impact, and reapproval needed. A fourth risk is assessing a trial using an uncontrolled mix or unclear visual standard. Record trial conditions and reference criteria so the assessment can be repeated consistently.
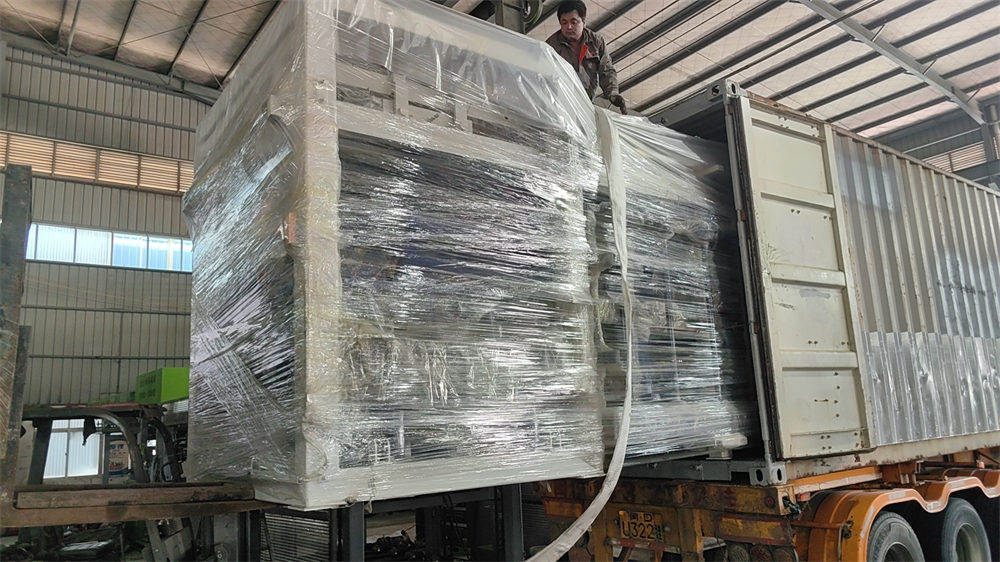
Finally, “compatible” does not automatically guarantee installation success. Define compatibility with drawings and dimensions, then assign responsibility for machine condition, installation, setup, and operator training in the order documents. Confirm scope of supply, delivery condition, handling, storage protection, and commissioning support. These provisions do not replace engineering approval; they help make the approved mould usable in its intended production environment.
FAQ
Should the buyer approve the product drawing or the mould drawing? Both. Approve the finished paver drawing first, then review mould assembly and cavity drawings for compatibility and implementation.
Can a photograph replace a physical texture sample? A photograph communicates a reference, but lighting and scale affect appearance. For critical texture, use a physical sample or controlled trial alongside photographs.
Does mould approval guarantee finished paver strength? No. Strength also depends on materials, proportioning, moisture, compaction, curing, and testing. Define performance testing separately.
What should be checked for a mould used on another manufacturer’s machine? Verify pallet size, frame dimensions, locating and clamping points, tamper clearance, cavity layout, and actual machine configuration against interface drawings.
When should a design change be approved? Before the supplier starts the affected operation. Record the new revision and its effect on cost, schedule, and completed work.
Conclusion
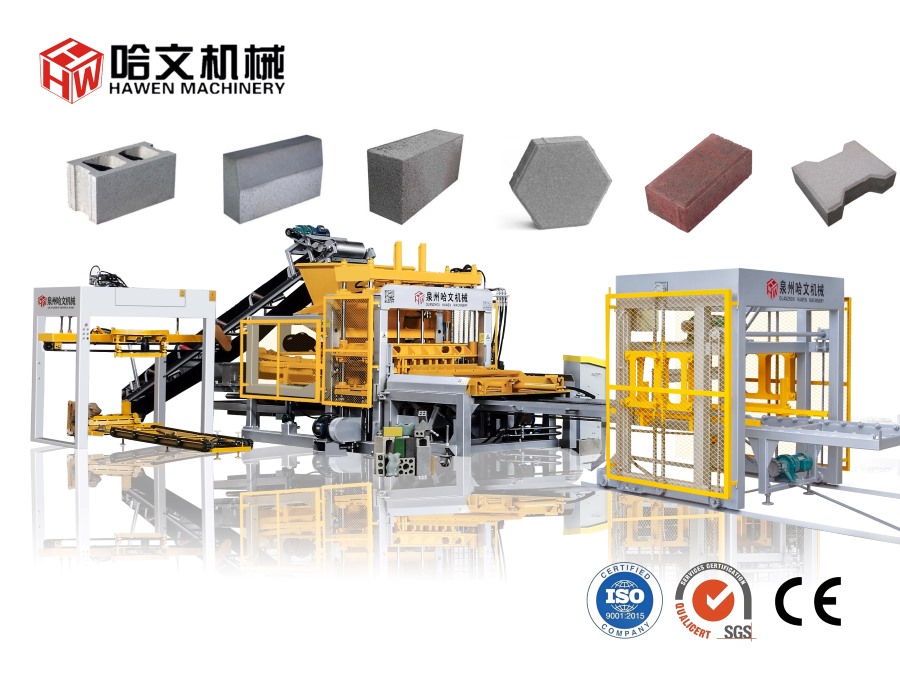
A disciplined approval process connects the required paver design with the block making machine and production line. Define the product, confirm machine and pallet interfaces, review controlled drawings, agree how texture will be judged, clarify material and treatment records, and conduct a documented production trial. Acceptance criteria should be practical, measurable, and traceable to drawing revisions and sample evidence.
These steps cannot eliminate every production variable, but they reduce avoidable ambiguity before tooling is made. The most useful approval is not a quick “looks fine”; it is a recorded decision that mould design, interface, trial evidence, and acceptance documents match the intended product and operating conditions.





 Tel: +86-13905968794
 Email: export@hwmachines.com
 MP/WhatsApp: +86-13905968794
 Manufacturer Address:Nanan,Quanzhou City,Fujian Province,China