Once grout enters a reinforced masonry wall, the lower cells and steel placement are no longer visible. A short inspection pause before placement can catch debris, blocked cores, misplaced bars, and insecure cleanout closures while correction is still straightforward. This field sequence focuses on the concealed conditions that most often deserve a deliberate look.
The checklist is for coordination, not a substitute for project requirements. Use the current structural drawings, grout specification, adopted code, and inspector's release criteria. The unit supplier can document product geometry, while the contractor and inspector verify the assembled wall. A clear handoff between those roles makes the hollow block part of a traceable construction process.
Unit geometry and core condition affect the space available for reinforcement and grout.
1. Why grout-space inspection matters
Reinforced concrete masonry relies on grout to connect reinforcement with the surrounding units as specified by the structural design. Before grouting, the wall cavity must be accessible, reasonably clear, and arranged so the bars and embedded items occupy their intended positions. Mortar droppings or projections can obstruct flow and contribute to incomplete filling. Inspection before the grout pour is therefore a practical quality hold point, not a cosmetic cleanup step.
The required inspection depends on the project drawings, specifications, local code, and selected grouting procedure. A wall with isolated reinforced cells differs from a fully grouted wall, and low-lift construction differs from high-lift work with cleanouts. CMHA guidance on grouting concrete masonry describes preparation and inspection considerations, but the project documents and applicable requirements control. This guide offers a field sequence; it does not replace the inspector's duties or the engineer's approved design.
2. Review the drawings and grout plan first
Before walking the wall, identify which cells are reinforced, whether the wall is partially or fully grouted, where bond beams and lintels occur, and where cleanouts are required. Confirm bar size, lap locations, dowel alignment, embedded services, grout lifts, and any inspection hold points. Mark these locations on a current drawing. If the field layout differs from the structural plan, resolve it with the responsible professional before the pour rather than relying on verbal assumptions.
Establish who will inspect each item and when access will be lost. Cleanouts must be positioned so debris can be removed and the bottom of reinforced cells can be viewed. The specified grout type, placement method, consolidation procedure, and lift sequence should be available to the crew. Do not transfer a dimension or grout limit from a different project; requirements vary with the adopted code and specification. Record the drawing revision and inspection date so later questions can be traced accurately.
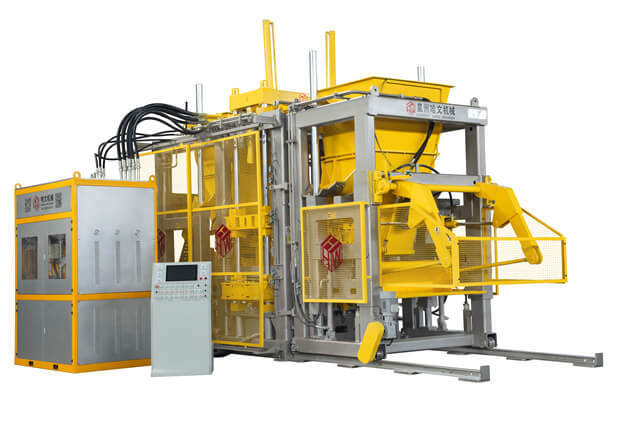
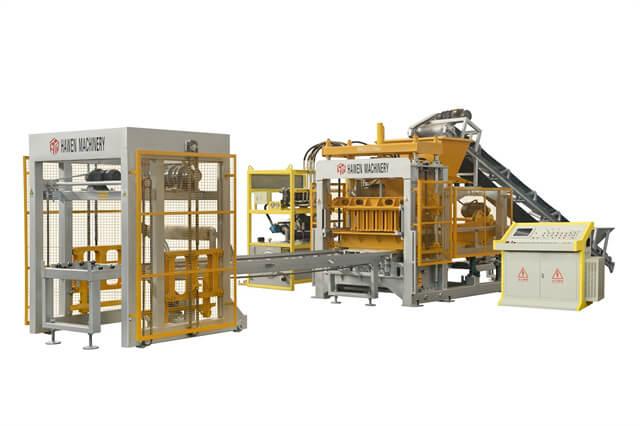
A reliable brick machine process helps deliver consistent units for the specified wall system.
3. Check cleanouts and cell continuity
Inspect cleanouts at the base of the cells scheduled for grout. Confirm that openings are large and accessible enough for the specified cleaning and inspection method. Remove loose mortar, packaging, soil, and other debris, then verify that the opening will be properly closed and braced before grouting. Cleanout size and spacing requirements are project- and code-dependent; use the stated criteria instead of assuming a customary dimension applies everywhere.
Use a light, mirror, or other accepted viewing method to check the cell path from the cleanout upward. Look for mortar fins, displaced webs, broken unit fragments, and obstructions around dowels. A blockage can cause grout to bridge or leave a void. If the obstruction cannot be removed through the planned access, stop and obtain an approved correction. Do not enlarge openings or chip structural units in a way that changes the design without authorization.
4. Verify bars, laps, and embedded items
Compare reinforcement with the drawing: size, spacing, vertical alignment, lap or splice location, required projection, and support. Bars should remain in the specified cell and be held in position during grout placement. Check that dowels align sufficiently for the approved detail and that ties, anchors, conduits, or other embedded items have not blocked the grout path. If the bar is bent or displaced, document the condition and refer it to the inspector or engineer.
Check clear space around reinforcement, particularly where laps, corners, intersections, or bond beams concentrate steel. A congested cell may require a different approved placement sequence or a specified grout procedure. The field crew should not cut bars, alter lap lengths, or move an embedded item simply to make placement easier. Photograph critical locations before cleanouts are closed. Clear, dated records help resolve questions without relying on memory after the wall has been filled.
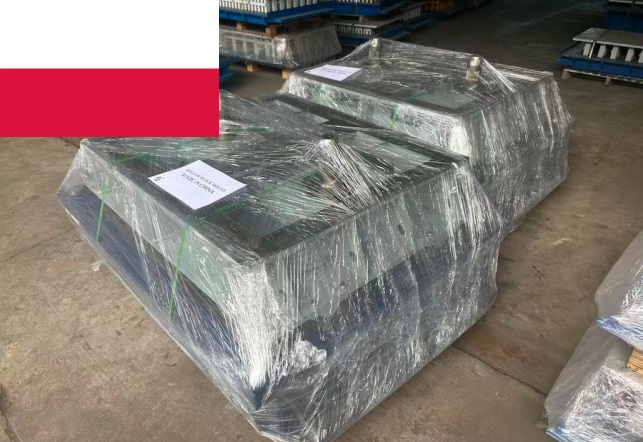
Mold and process control maintain repeatable core openings and web geometry.
5. Inspect mortar projections and grout containment
Examine bed joints, webs, and the base of cells for mortar that projects into the grout space. Remove material that exceeds the project criteria and could impede grout flow. Pay attention to horizontal joints below bond beams, where the design may use a grout stop or a solid-bottom unit to retain grout in a selected area. The containment detail must be compatible with the structural load path; improvised membranes or bond-breaking materials can undermine the intended connection.
Confirm that cleanout closures, grout stops, and temporary supports are secure enough for the planned placement. Grout pressure and placement sequence can move inadequately braced closures or weak masonry. Check that the wall has reached the specified readiness and that reinforcement and cavities have passed the required inspection. If grout is placed in lifts, mark the planned limits and joints. Do not proceed when the team cannot identify the approved detail or the responsible inspector has not released the work.
6. Prepare for placement and keep a usable record
Before the pour, brief the crew on grout delivery, lift sequence, access, consolidation, observation points, and the procedure for pausing if leakage or movement appears. Confirm the material ticket and any required tests or sampling. Check that tools and communication are ready before the first load arrives. These simple preparations reduce rushed decisions after the wall is no longer accessible. Follow the project's requirements for grout consistency and placement rather than adjusting water or slump informally on site.
The inspection record should identify wall area, drawing revision, cells and bond beams checked, reinforcement observations, cleanout condition, debris removal, approved corrections, and release status. CMHA TEK 03-02A discusses grout-space preparation, cleanouts, and reinforcement checks; use the project specification and adopted code for acceptance. Add photographs where they clarify concealed work. If a defect is discovered after grouting, record the location and observed evidence, then involve the engineer and inspector in selecting an evaluation method. Do not assume that surface appearance proves a cell is full or that a repair is acceptable without technical review.
7. Connect field performance to block-unit quality
The field inspection begins with the units actually delivered. Core openings, web geometry, face shells, and dimensions should match the approved product. Damaged webs or inconsistent openings can complicate reinforcement placement and cleaning. A manufacturer can provide dimensional records and product identification, but the site team still needs to verify that the supplied unit is the specified type and that the wall is constructed according to the drawings.
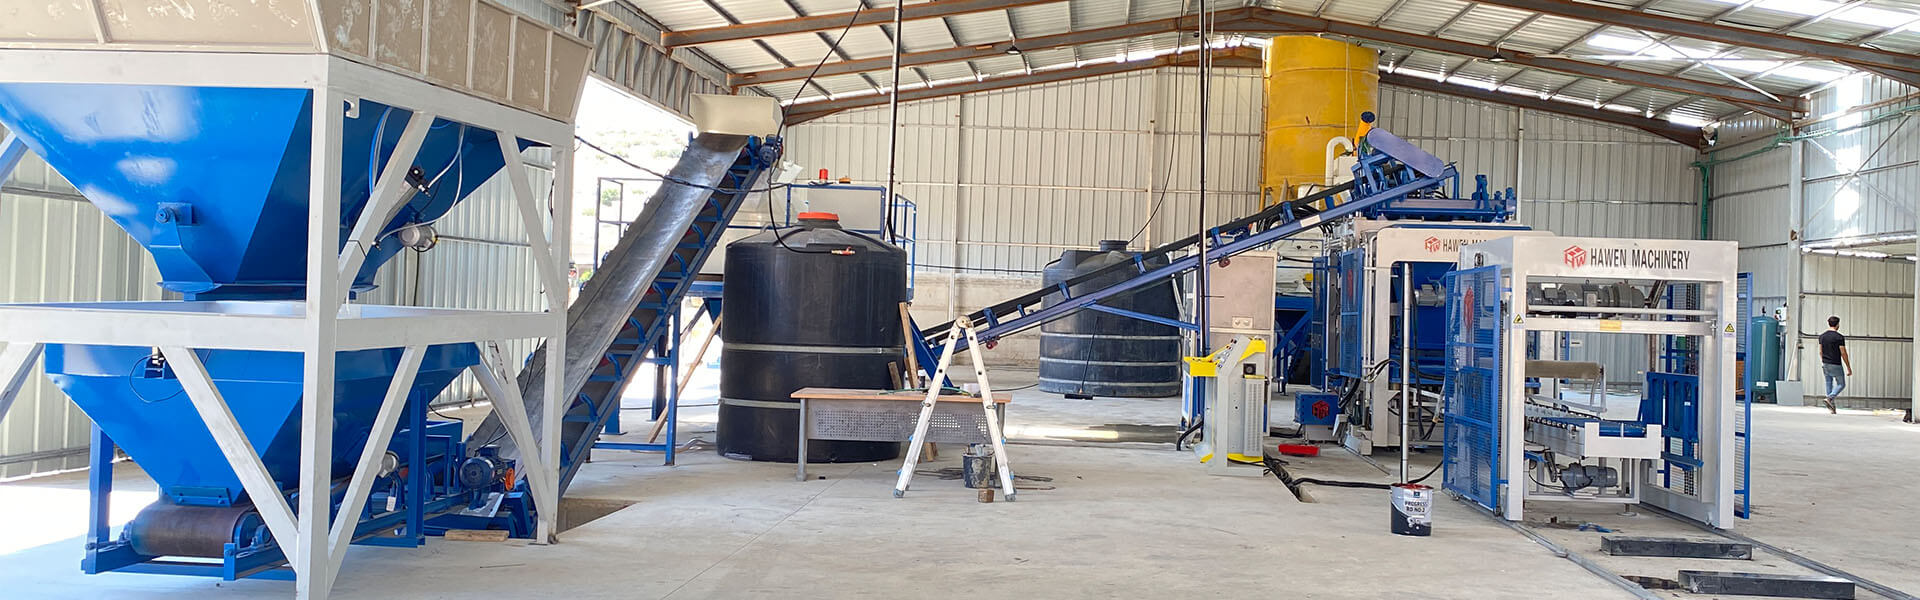
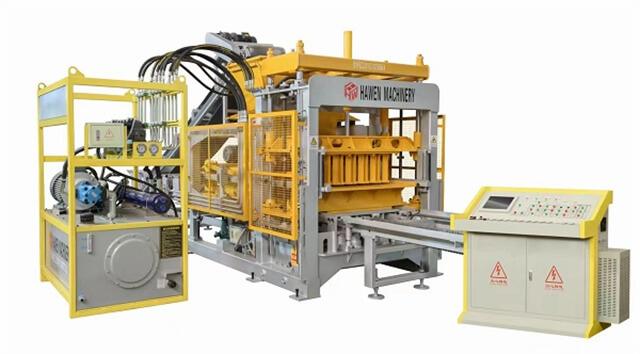
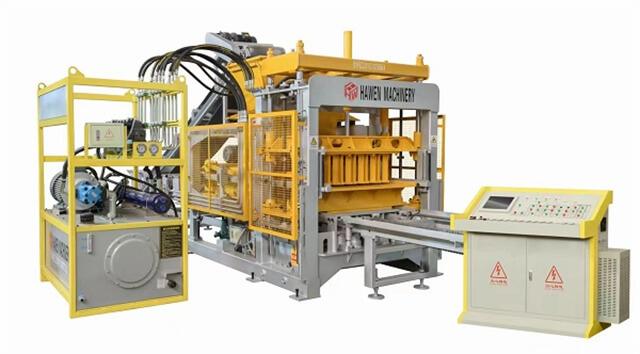
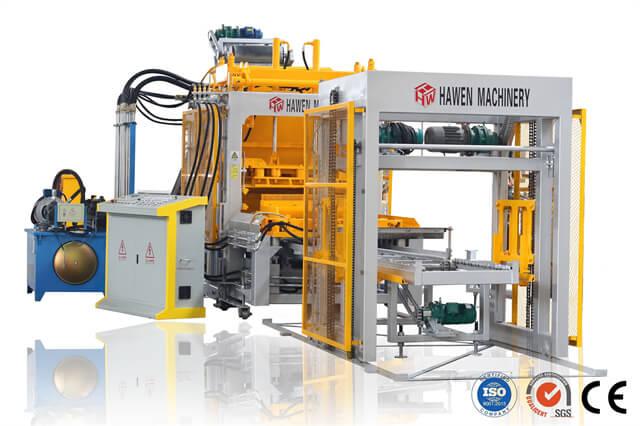
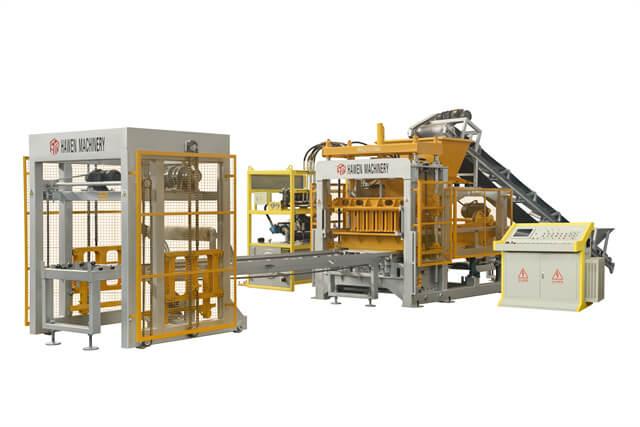
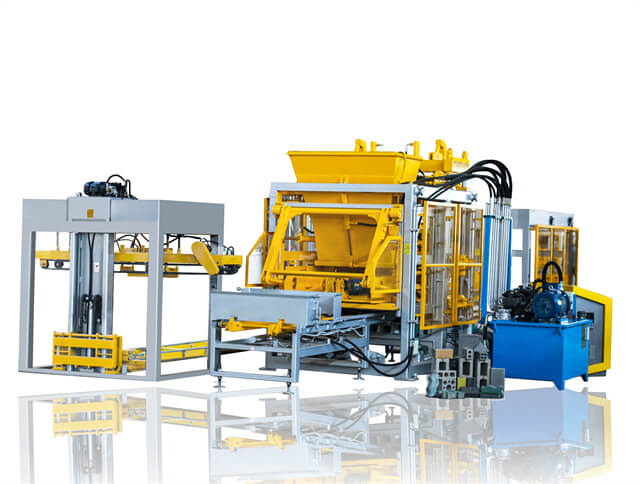
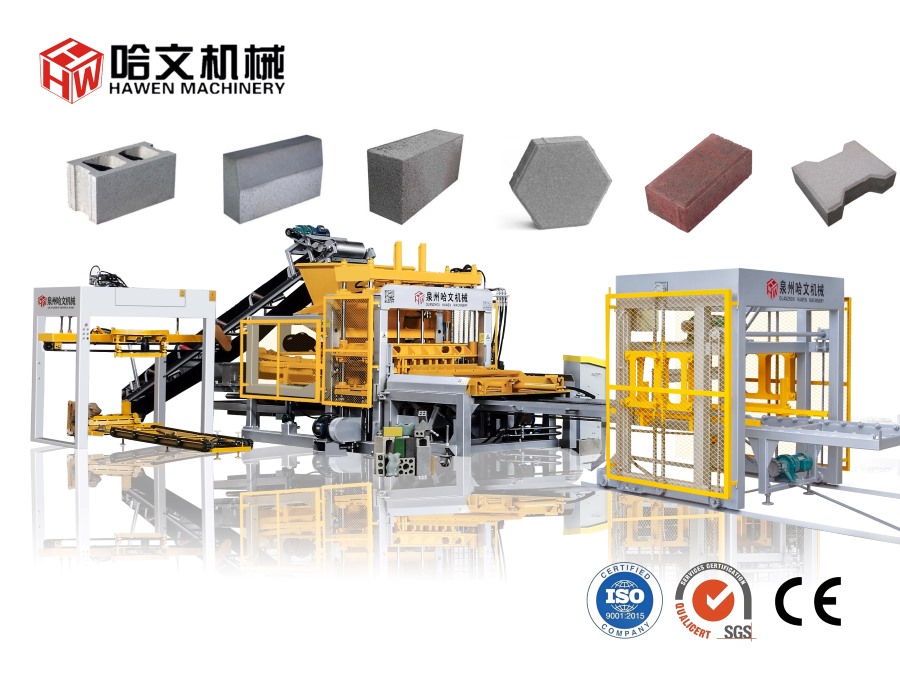
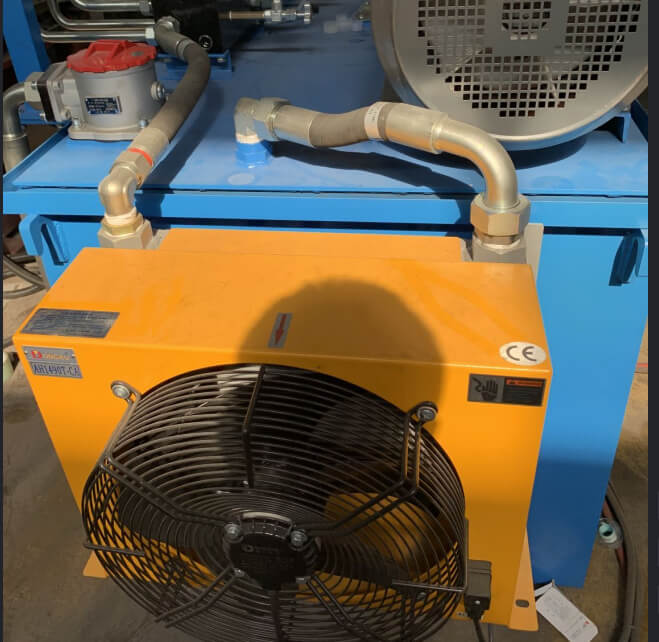
Repeatable unit geometry depends on a coordinated mix, mold, machine, pallet, and curing process. Hawen's four-shaft vibration box positions eccentric blocks outside its housing, reducing internal resistance and supporting uniform compaction when the process is correctly set. A SIEMENS S7-200 PLC with touch-panel operation and remote monitoring helps the team review operating status and tune parameters. Hawen molds are made to fit leading platforms such as Masa, Hess, Zenith, Poyatos, Besser, Tiger, Columbia, Quadra, and Omag; heat treatment improves wear resistance, with hardness checked at HRC 59-61. These features support consistency; they do not determine the structural design or replace site inspection of the assembled wall.
Use the current structural drawings to identify reinforced cells, bond beams, cleanouts, and grout lifts.
Inspect cell continuity and remove debris before cleanout openings are closed.
Verify bar position, laps, dowels, embedded items, and clearance against the approved detail.
Check mortar projections, grout stops, closures, bracing, and wall readiness before placement.
Record inspection results and photographs before concealed work becomes inaccessible.
Pause and refer discrepancies to the responsible inspector or engineer rather than improvising a repair.
Grouting conceals the very details that make reinforced masonry work as designed. A deliberate pre-pour inspection protects those details while they are still visible: clear cells, correctly positioned steel, sound containment, and an agreed placement plan. When the manufacturer supplies consistent units and the field team follows a traceable inspection process, quality is built into the wall before the grout ever flows.
FAQ
What should be checked before grouting a CMU wall? Review clean cells, reinforcement position, laps, embedded items, grout stops, cleanout closures, wall readiness, and the approved placement sequence.
Why are cleanouts provided at the bottom of reinforced cells? They allow debris to be removed and the lower part of the grout space to be inspected before closure and placement.
Can mortar droppings be left inside the cells? No. Projections or debris that obstruct grout flow should be removed according to project requirements before grouting.
Is the same cleanout spacing used on every wall? No. Follow the current project specification and applicable code; requirements depend on the construction and grout plan.
What if a reinforcing bar is not centered in its cell? Document the condition and ask the responsible inspector or engineer to determine an approved correction before grout placement.
Can an installer alter a bond beam unit to clear reinforcement? Not without approval. Cutting or changing a unit may affect the structural detail and should be reviewed by the design professional.
Does a factory inspection replace field grout inspection? No. Factory checks cover the supplied units and manufacturing records. Reinforcement, cleanliness, grout placement, and workmanship require field controls.





 Tel: +86-13905968794
 Email: export@hwmachines.com
 MP/WhatsApp: +86-13905968794
 Manufacturer Address:Nanan,Quanzhou City,Fujian Province,China